Your trailer is your mobile shop. How you set it up directly affects how fast your crew works, how professional you look on job sites, and how safe your equipment arrives. Here’s the setup guide we wish someone had given us when we started.
Start With the Right Trailer
Before you organize anything, you need the right base. For most contractors, that means:
- Landscapers and lawn care: Open landscape trailer, 7×14 to 7×16, with tube top rails
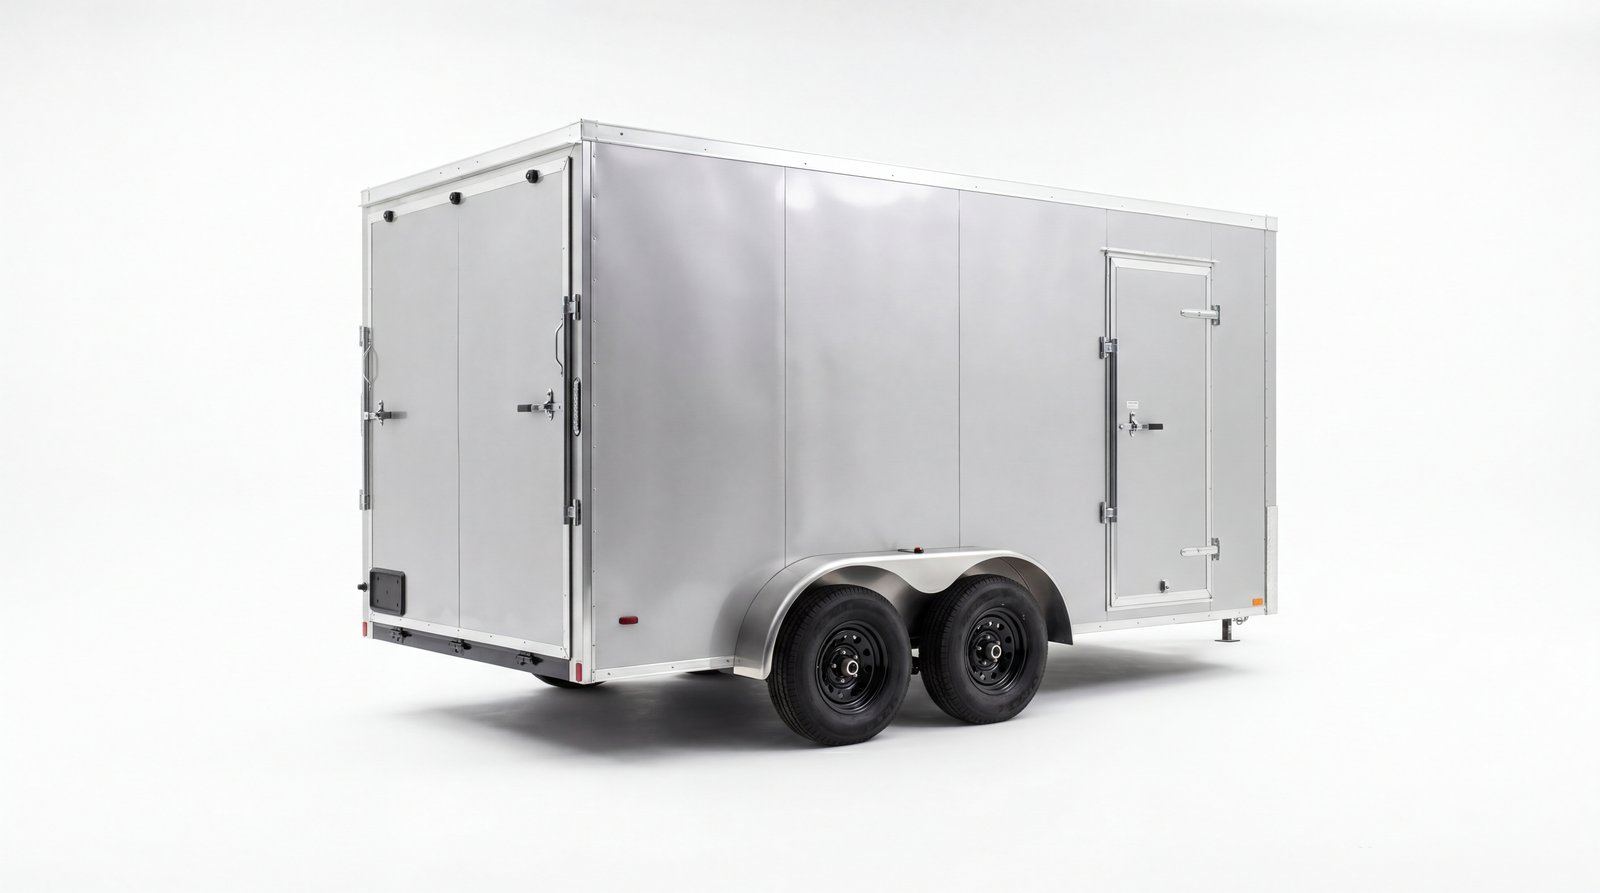
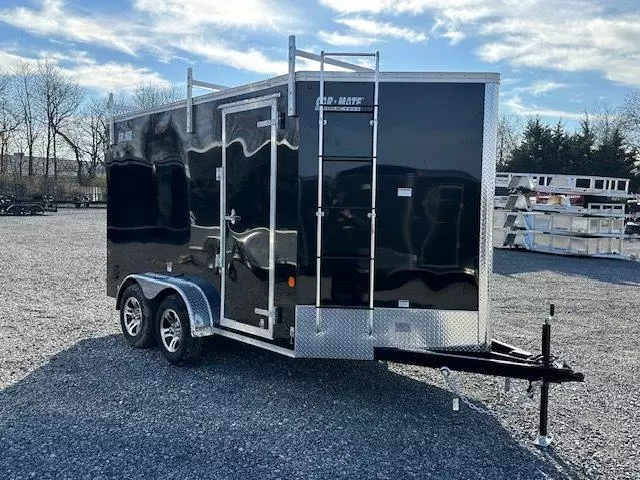
- Electricians, plumbers, HVAC: Enclosed cargo trailer, 7×16 or 8.5×20, with side door access
- General contractors: Either an open utility trailer for materials or an enclosed trailer for tools and equipment
Getting the size right matters. Too small and you’re cramped and inefficient. Too big and you’re dragging unnecessary weight and dealing with parking headaches.
Load Distribution: The Foundation of Safe Hauling
Before you add a single shelf or rack, understand this rule: 60% of your cargo weight should sit in front of the trailer axle, 40% behind. This creates proper tongue weight and prevents dangerous trailer sway at highway speeds.
- Heavy equipment and power tools: front of the trailer
- Lighter materials and supplies: rear
- Never load more weight behind the axle than in front of it
The Enclosed Contractor Trailer: Organizing for Efficiency
Shelving Systems
The single best upgrade for an enclosed contractor trailer is a quality shelving system. Options include:
- Adrian Steel or Masterack systems: Professional-grade aluminum shelving designed for work vans and trailers. Bolts directly to the trailer wall studs.
- Uline H-wire shelving: Budget-friendly option that works well for lighter tools and supplies.
- Custom wood shelving: Built-in shelves from 3/4″ plywood. Cheaper upfront, heavy, but fully customizable.
Tool Tracks and Pegboards
Line the walls with aluminum tool tracks (available at any trailer supply store). Mount pegboard panels between tracks for hanging hand tools. This keeps everything visible and accessible, no more digging through piles to find a specific bit or blade.
Electrical Setup
Run a 30-amp shore power hookup to your trailer. This lets you plug in at job sites to run power tools without a generator. Add interior LED strip lighting for working in dim conditions, and a power strip along the workbench wall.
The Open Landscape Trailer: Maximizing Every Inch
- Trimmer racks: Bolt-on or weld-on racks that mount to the tube rails hold string trimmers and edgers off the floor. Keeps them accessible and prevents damage.
- Blower racks: Same concept, keeps backpack blowers secure and easy to grab.
- Fuel can holders: Mount locking fuel can holders to the tongue or frame for gas and mixed fuel.
- Tool box on the tongue: A tongue-mount toolbox holds small hand tools, straps, and gear without eating trailer space.
- Locking cable system: Run a steel cable through larger equipment and lock it to the trailer frame for overnight security.
Tie-Down and Securing
Every piece of equipment on your trailer must be secured. Period. Here’s what pros use:
- 2″ ratchet straps (minimum 3,333 lb working load) for mowers and large equipment
- 1″ cam straps for smaller tools and hand equipment
- Wheel chocks for any wheeled equipment on flatbeds
- D-ring tie-down anchors welded or bolted to the frame at multiple points
Make It Look Professional
Your trailer is a rolling advertisement. Wrap it, even a basic vinyl application with your logo, phone number, and website turns every job site visit into marketing. It also makes theft recovery easier if your trailer is ever stolen.
Need a trailer built for contractor work? Browse our contractor trailer lineup at PrimeLoad Trailers or call (360) 560-5472. We ship anywhere in the US, free.
Related Guides and Inventory
Ready to buy? Get a free quote within 24 hours, or call us at (360) 560-5472.