RV de-winterizing step by step is what separates a smooth season opener from a leaky disaster on your first weekend. Done properly, RV de-winterizing flushes the antifreeze, sanitizes the fresh-water system, checks every appliance, and gets your camper trailer road-ready in 2–3 hours. Done wrong, you find leaks at 11pm in a campground. This guide walks through RV de-winterizing step by step for any travel trailer or fifth-wheel. For broader camper trailer buying guidance, see our camper trailers buyer’s guide.
RV De-Winterizing Tools You Need
- Garden hose with potable water rating
- Bottled water sanitizer (bleach, 1 oz per 4 gallons)
- Water pump
- Pressure tester (optional but recommended)
- Flashlight for inspection
RV De-Winterizing Step by Step
Step 1: Inspect Exterior
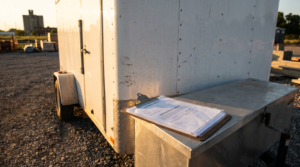
Walk around. Look for cracked seams, damaged seals, animal damage, tire condition. Any seal that’s soft or cracked needs replacement before water testing.
Step 2: Drain Antifreeze
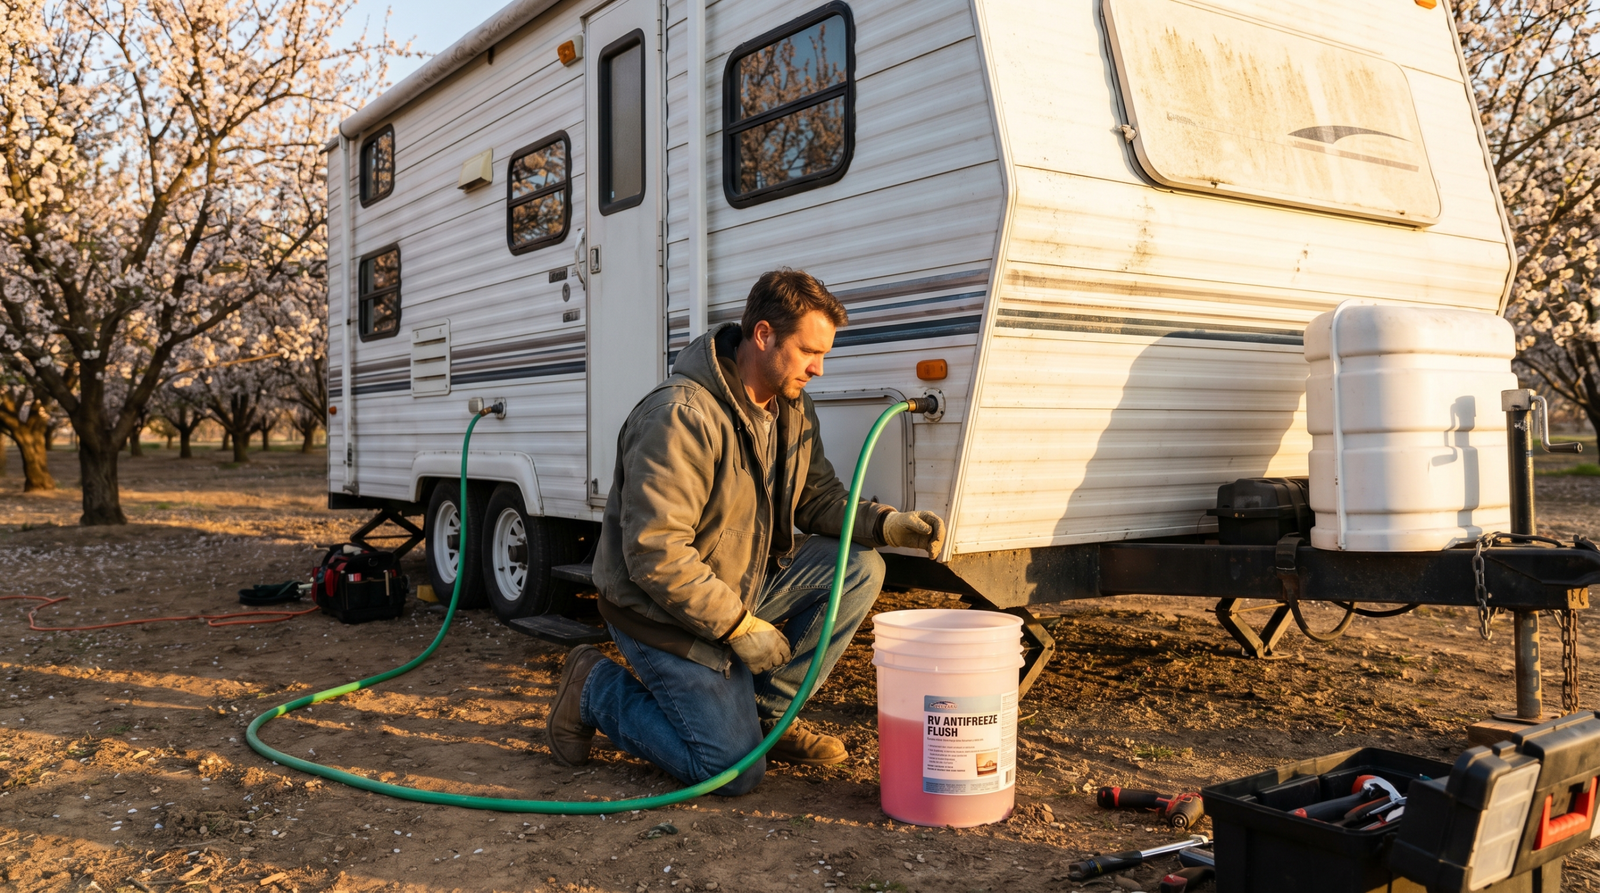
Open all drains: low-point drains under the trailer, fresh tank drain, water heater drain. Run pump to flush remaining antifreeze.
Step 3: Sanitize Fresh Water Tank
Add 1 oz bleach per 4 gallons of tank capacity. Fill the tank. Run water through every faucet until you smell bleach. Let stand 4 hours.
Step 4: Flush Sanitizer
Drain the tank, refill with fresh water, run through faucets until bleach smell is gone (usually 2–3 fillings).
Step 5: Pressure Test
Pressurize the system to operating pressure. Walk through, check for leaks at every connection. Tighten or repair as found.
Step 6: Test Appliances
Water heater (electric and propane), refrigerator (electric and propane), furnace, AC, slide-outs, awning. Cycle each through full operation.
Step 7: Tire and Battery Check
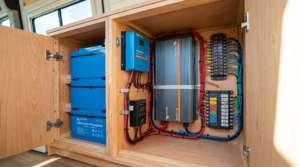
Inflate tires to spec. Charge or replace battery. Test brake controller integration.
Common Issues to Look For
Cracked seals: winter freeze cycles open seam seals. Reseal with butyl tape or RV seam sealant.
Mouse damage: rodents nest in stored RVs. Clean carefully and check wiring.
Soft floors: water leaks during winter create soft spots that need patch repair before driving.
Outbound References
For RV maintenance standards, see RVIA standards. For potable water sanitization, the CDC drinking water guidance applies.
Common Questions
How long does RV de-winterizing take?
2–3 hours for a basic travel trailer; 4–6 hours for a fifth-wheel with multiple slide-outs.
Can I skip the bleach sanitization?
No. Stagnant water for 6 months grows bacteria. Sanitize every spring without exception.
Ready to Buy?
Browse camper trailers for sale. Request a quote.
Where Rv De-winterizing Step By Step Fits in Your 2026 Buying Plan
If you’re comparing every option for rv de-winterizing step by step, three resources help. The federal FMCSA cargo securement standards (49 CFR 393.100) apply on every public road. The NHTSA towing safety guide covers tow-vehicle setup. And our parent buyer’s guide covers sizing, brands, and 2026 pricing for the broader category.
Pricing on rv de-winterizing step by step has stabilized in 2026 after the steel-cost swings of the early 2020s. Whether you’re buying first-time or replacing a unit, rv de-winterizing step by step decisions still come down to use case, brand, and delivered out-the-door price. PrimeLoad’s position is to make the comparison transparent.
Browse Rv De-winterizing Step By Step inventory to see every option with full specs and delivered pricing. Free delivery to all 50 states from PrimeLoad Trailers.